


 24/7 Emergency Service
How to Replace a Leaking Kitchen Sink Trap
12/19/2019 (Permalink)
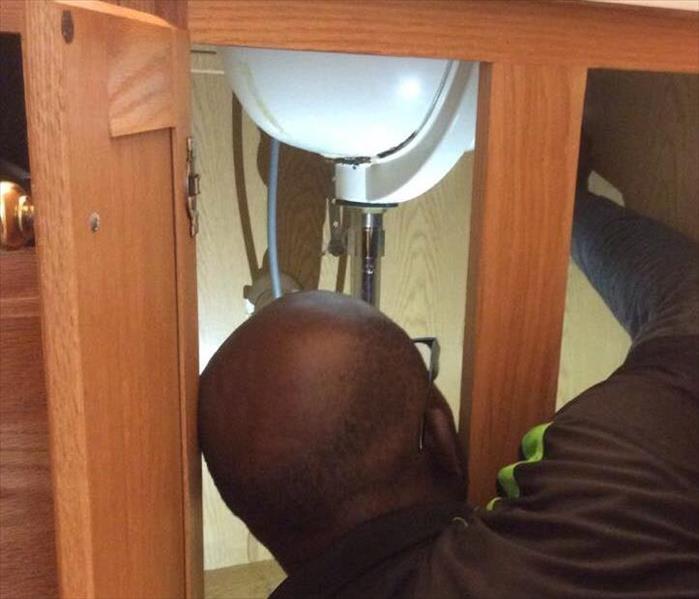 Leaking sink traps are one of the most common causes for water damage. Call SERVPRO of Marietta West for 24 hour water restoration!
All over the country, DIY projects are taking the homeowners by storm. Homeowners love to save money and tend to be pretty capable when it comes to home improvement and repair. Entire TV channels, like the DIY Network and HGTV are dedicated to the subject. One of the most popular and useful projects, we here at SERVPRO of Marietta West have come across, was a recently posted project by The Home Depot. This DIY project addresses the all too common issue of leaking sinks. To be more exact, leaks that come from the “sink trap” or “P-trap” located underneath nearly every sink. Over time the curved drain pipe underneath your sink called a p-trap, can corrode, leak, or become permanently clogged. This is a common issue among homeowners, and can be fixed reasonably quickly and easily, making it perfect for a weekend project. The cost of replacement parts are quite reasonable and the required tools are minimal (most home toolboxes have the required tools to complete this type of project).
List of Tools and Supplies:
- Bucket
- Sink Trap/P-Trap Assembly
- Slip Joint Pliers
- Pipe Lubricant
- Slip Joint Washers
- Slip Joint Nuts
- Hand Saw
- Pipe Putty/Sealant (optional)
*Prior to removing the old sink’s trap/P-trap, turn off the water to prevent water damage. Most sinks will have shut off valves located beneath them close to the sink P-trap. There will be one valve each for hot and cold water lines.
Step One: Remove the old sink P-trap assembly connected to the drain located on the bottom of the sink. Using a set of slip joint pliers to loosen all slip-nuts on the assembly to allow the PVC pipes to move freely. Keep a bucket close by to catch any residual or standing water that might still be inside the sink’s P-trap assembly. Remove the sink P-trap assembly including the sink tailpieces and drain stub trap arm.
Pro Tip: When purchasing your replacement sink P-trap make sure to select one that is the same size as the old trap to ensure a proper fit.
Step Two: Attach the new sink P-trap tailpiece with a tailpiece washer between the flared end of the tailpiece and the sink strainer, then tighten the assembly together by screwing the tailpiece slip-nut onto the sink strainer. This step will need to be repeated for any secondary sink basins.
Pro Tip: Bathroom installations may require you to trim the tailpiece to the correct length.
Step Three: Most kitchen sinks have what's called a double basin design. The double basin design means that there are two wash basins or reservoirs built into the sink with separate drains. One often used for washing dishes and the other typically dedicated to washing produce and other foods (this helps prevent contamination of food products). Double basins sinks require a T-fitting, which allows both basins to drain into a single line. To install the T-fitting attach one T-fitting inlet to each sink basin tailpiece using slip joint washers and nuts. Apply pipe lubricant to the slip joint washers to insure a tight fit.
Pro Tip: If installing a single basin sink, you can skip the T-fitting junction and connect the sink’s tailpiece directly to the trap bend pipe/J-bend pipe and trap arm.
Step Four: Attach the new trap arm to the drain stub out using a slip joint washer and slip-nut. Tightening the slip-nut firmly to insure that no water leaks from the junction. When tightening the slip-nut to the drain stub, make sure to keep the beveled side of the washer face out from the drain stub inlet.
Pro Tip: You can use a hand saw to customize the length of the trap arm to fit your installation. Also, If you have questions about which direction the wash should face, consult the manufacturer's directions.
Step Five: Connect the trap bend to the trap arm and T-fitting outlet using slip-nuts and washers. The trap bend is commonly referred to as the J-bend, because of its “J” like shape. Being careful not to over tighten the slip joint nuts, use slip joint pliers to tighten the slip joint nuts. Over tightening can result in broken or cracked slip joints which will most likely cause water to leak from the drain.
Pro Tip: Teflon tape is not needed on white plastic pipe threads and fittings, unless otherwise directed by you slink trap/P-trap manufacture. Use of teflon tape when it is not needed could result in leaks, blockages, and possibly even water damage to your home.
Step Six: Now that your new sink P-trap has been installed, recheck that each slip joint nut is firmly tightened, turn back on both water shutoff valves, and visually inspect the assembly for leaks. You can also use a dry cloth to detect leaks by wiping the connections with the dry cloth. If the cloth shows any signs of moisture, you have a leak in the system which will need to be addressed.
Pro Tip: Recheck the new sink P-trap several times during the first 24-48 hours of use to make sure no leaks occur.
We hope this blog has been helpful and informative. Completing DIY projects can give you a real sense of accomplishment and can even save you a few bucks. As with any DIY project, there are definite risks involved with taking on plumbing repair by yourself. If at any point you don’t feel capable, need advise, or feel unsafe, call a licensed plumber that you trust.
For more information on installing a new sink P-trap check out this helpful video our friends over at The Home Depot have put out.
SERVPRO of Marietta West understands the stress and worry that comes with a fire or water damage and the disruption it causes your life and home or business. Our goal is to help minimize the interruption to your life and quickly make it "Like it never even happened."
SERVPRO of Marietta West specializes in the cleanup and restoration of residential and commercial property after a fire, smoke, or water damage. SERVPRO of Marietta West can also mitigate mold and mildew from your home or business. Our staff is highly trained in property damage restoration. From initial and ongoing training at SERVPRO’s corporate training facility to regular IICRC-industry certification, rest assured our staff is equipped with the knowledge to restore your property. With a nationwide system of qualified franchises, no damage is too large or too small for SERVPRO of Marietta West. Serving you since 1967, SERVPRO is the cleaning and restoration brand you know and trust.
If you would like to schedule service for your home or business, please contact us today (770) 428-5467!